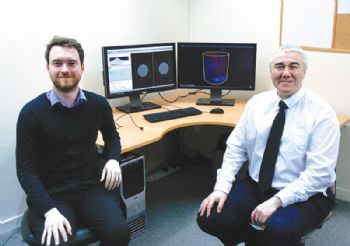
Drilling for oil or gas is an expensive business, whether offshore or on land, so it is essential for exploration and production (E&P) companies to minimise the risk of drilling operations failing or not meeting their target yield.
Aberdeen-based COREX (
www.corex.co.uk), part of the Premier Oilfield Group, supplies data for risk mitigation to operators world-wide.
It has been providing these services for more than 30 years, but it is only in the last decade that it has included rock core investigations — by sending samples for analysis to Nikon Metrology’s (
www.nikonmetrology.com) centre of excellence for micro-focus computed tomography (micro-CT) in Hertfordshire.
The rock samples flown down from Aberdeen to Tring are typically 25-38mm in diameter and 25-50mm long, and a team of Nikon Metrology applications engineers is on call to perform sub-contract inspection.
High-resolution micro-CT scanning is non-destructive and can reveal bedding features, fractures, cements and heterogeneities that are smaller than one micron.
The images and data sets produced can show grain size and shape, pore size and network, cements and mineralogy.
The resolution of a typical medical CT scanner would be sufficient to show coarse features but not individual grains, pores, micro-fractures, voids and fine features.
Nikon Metrology has over 30 years’ experience in X-ray and CT inspection, and it has been offering contract inspection services since 1997.
The items that it has examined range from the latest microchip to a 65 million-year-old dinosaur egg.