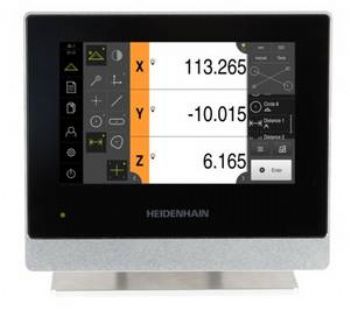
If manual inspection of two-dimensional components on a measuring machine, optical profile projector or measuring microscope is too time-consuming or not sufficiently precise, the new Quadra-Chek 2000 from Burgess Hill-based Heidenhain (GB) Ltd (
www.heidenhaingb.com) can help to improve matters.
It features embedded evaluation software, a high-resolution 7in ‘hardened’ colour touch-screen, a built-in power supply, a rugged aluminium housing and fan-less cooling.
These features combine to make it suitable for applications on the shopfloor, as well as in inspection rooms.
Point acquisition using X and Y hand-wheels, along with stage rotation where necessary, is easy using cross-hairs or an optical edge detector.
The latter operator-independent mode allows a high level of repeatability and significantly reduces measurement uncertainty by eliminating subjective error.
Meanwhile, pre-defined geometry tools record the co-ordinates of two-dimensional features — such as points, lines, circles, slots and squares — and measure the distances and angles between them, while a Measure Magic function further simplifies inspection by using the acquired points to recognise, select and fit the geometry automatically.
Quadra-Chek 2000 keeps track of pre-sets, sequences of measurements, tolerances and data output commands.
When a recorded program is executed again, the unit guides the user by detailing all of the features to be measured; and being ‘context-sensitive’, the menu-driven software shows only those functions that are available in the current measuring situation.
On completion of an inspection routine, the integrated reporting function makes it easy to create a PDF, CSV (comma-separated value) files or a print-out of the measurement and tolerance results.
USB and Ethernet ports are included for data and firmware communication — and for integration of the unit into a manufacturer’s network.