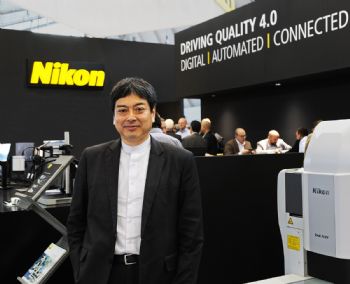
A recent interview with Tadashi Nakayama, deputy general manager of Nikon’s Industrial Metrology business unit (
www.nikonmetrology.com), highlights: the company’s focus on Quality 4.0 (the application of Industry 4.0 to the ‘world of quality’); the digital, automated and connected inspection that enables complete process control from design through to manufacture; the requirement for automated measurement of key features on components as close to real time as possible; and the need to acquire digital results and feed them back directly to machinery to control production automatically — thereby ensuring that the quality function guarantees the best-possible products.
Mr Nakayama said: “The quality function must take the lead and be the driver of the manufacturing process.
“Measurement should no longer simply be an arbiter of pass or fail, but a means of continuously monitoring and adjusting the process to ensure that every component passes.
“When such a policy is adopted, down-time, scrap and costly re-working of parts become a thing of the past.
“We will continue to develop metrology equipment and software to exploit technological advances to the full.
“Our approach to Quality 4.0 is ‘driving’ three areas: the automation of inspection, where possible and expedient; the digitisation of results; and the integration of metrology data into the production line — thereby allowing processes to be fully optimised. A Quality 4.0-based process improves both efficiency and flexibility.
“The challenge with Quality 4.0 technology is to collect measured results in as near real time as possible, hence the need for automation to speed up the rate at which data is recorded.
“Additionally, automated evaluation minimises the risk of human error when interpreting results.
“The automation of non-contact inspection also allows the collection of much larger amounts of data for more-meaningful analysis, including trend analysis; data from the machinery producing parts is also acquired, such as the temperature of a machine spindle or the injection pressure of a moulding process.
“Artificial-intelligence software is then used to analyse the large amounts of information and correlate the quality control (QC) data with the CAD model of the component and the machine data, and so arrive at an understanding of where and why a drift from the centre of a tolerance band is occurring, so that it can be continuously corrected.”
Zero-defect production
Electrical connectors are big business in the automotive supply chain, there being an average of 2,000 in every vehicle.
One manufacturer of these — making six billion plastic injection-moulded connectors a year — has adopted a policy of zero-defect production.

It recognises that a faulty part can be — at best — an annoyance to a driver, possibly leading to costly warranty repairs or a recall programme by the OEM, or — at worst — fatal, if the connector is part of the vehicle’s automatic braking system.
For this customer, Nikon Metrology supplied a turn-key shopfloor inspection system with handling equipment and software that automatically loads samples into a computed tomography (CT) scanner.
If a housing is out of tolerance, it is rejected and an alarm is sent to the operator, who stops and adjusts the relevant machine immediately to avoid the production of scrap.
Another example is a manufacturer of low-cost chips (used to track consumer goods in ‘smart’ shops, for example) that has closed the production/QC loop to spot and correct for process drift.
Nikon Metrology supplied a total solution, including an automatic wafer handler and an iNEXIV video-based measuring machine that inspects glass wafers and sends the data to the plant control to keep circuit pattern dimensions within tolerance.
Nikon Metrology’s strategy over the next few years will be two-fold. First (from a technical perspective), the collection of digital measurement data will be paramount in enabling intelligent process control systems, whether local or ‘in the cloud’.
Mr Nakayama says the company’s core competences that are being brought to bear in this area are: laser scanning; X-ray (including CT, which is especially suitable for high-speed non-destructive inspection of the interiors of additively manufactured parts); analysis and control software; and the high-quality optics available from its parent group.
Also contributing to the reliable generation of accurate measurement data is precision mechanics, such as the drives on the company’s video measuring machines, while artificial-intelligence algorithms being developed by partner companies will be increasingly used to help analyse QC data.
Second, Nikon says it is increasing the focus on building stronger relationships with customers, recognising that manufacturers today expect a solutions approach, with support provided before, during and long after the installation of a new process.