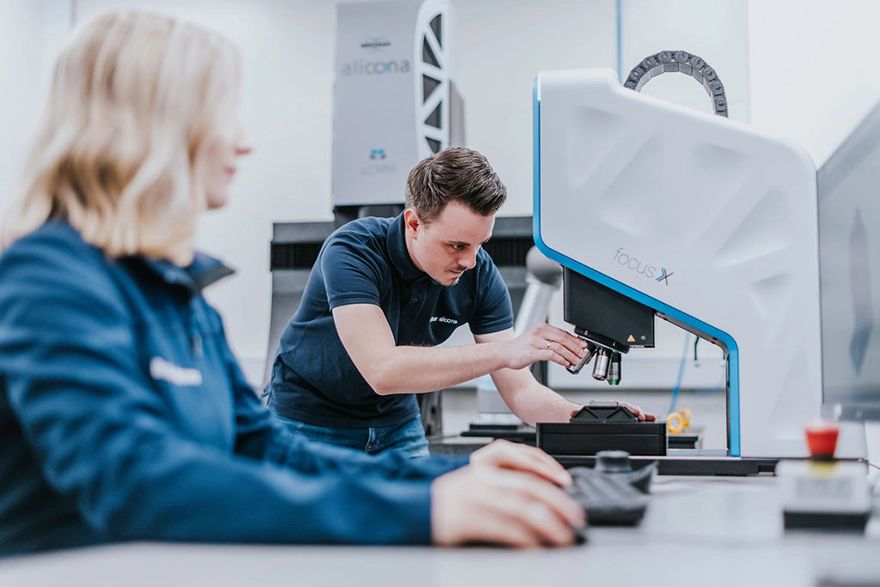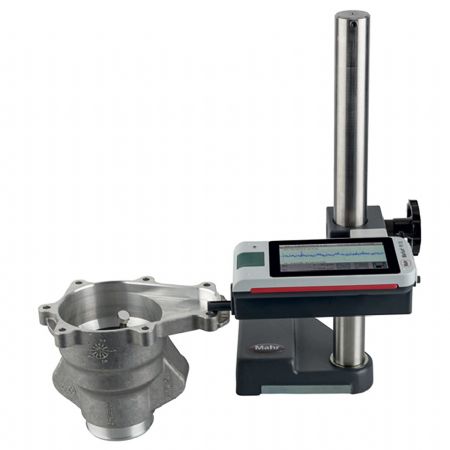
Surface roughness measurement is crucial in various industries to ensure product quality, performance, and functionality. Both optical and tactile methods are employed for surface roughness measurement, and each method has its own unique advantages.
Optical methods, such as focus variation, interferometry, and confocal microscopy, allow for non-contact surface roughness measurement, which is beneficial as it avoids potential damage to delicate or sensitive surfaces. Optical methods also provide three-dimensional profiling capabilities over a larger area, allowing for a more comprehensive analysis of the surface topography.
This is important in applications where a detailed understanding of surface structure is required, for example does the surface hold or reject a lubricant which is difficult to achieve with tactile systems which are line and not area based. Optical techniques also offer faster measurement capabilities compared to tactile methods and can achieve extremely high, sub-micron, areal-based resolution, enabling the measurement of fine surface details. This is particularly useful when dealing with intricate or small features on a surface, small features cannot typically be measured with a tactile system.
Optical measuring is also versatile and can be used for a wide range of materials, including reflective, delicate, and transparent surfaces. This flexibility makes optical techniques suitable for diverse industrial applications. Also, some of these instruments allow dimensional and geometric dimensioning and tolerancing (GD&T) measurement.
The advantages of tactile surface roughness measurement, such as stylus profilometry, have been widely accepted and used as a standard in many industries for surface roughness measurement. This makes them a well-established and reliable choice.

Wide range of applications: tactile methods are applicable to a broad spectrum of materials, including metals, and hard materials, but there is the potential for surface damage on softer materials. They can be used in various industries, from manufacturing to quality control.
Tactile instruments can be more cost-effective than certain advanced optical systems. This makes them suitable for applications where budget constraints are a consideration. Tactile methods often provide high accuracy and repeatability in line-based surface roughness measurements, especially when measuring roughness features at the micro- or nanoscale. They have been around for a long time and have been continually refined, which provides a level of confidence in their accuracy and reliability.
So the choice between optical and tactile surface roughness measurement depends on the specific requirements of the application, the characteristics of the material being measured, and the available budget. Tactile systems have been widely in use over a prolonged period and until the introduction of areal-based optical measurement systems have been adequate, and, in some cases are still more suitable.
However, as materials develop, and their functional properties become more important to designers, then optical-based systems offer increased capability for the future. Combining both techniques in a complementary manner is also a strategy employed in some situations to obtain a more comprehensive understanding of surface characteristics.
Further information on products for both methods is available from Market-Harborough-based
Optimax Imaging and Inspection Ltd, a leading provider of precision measuring solutions.