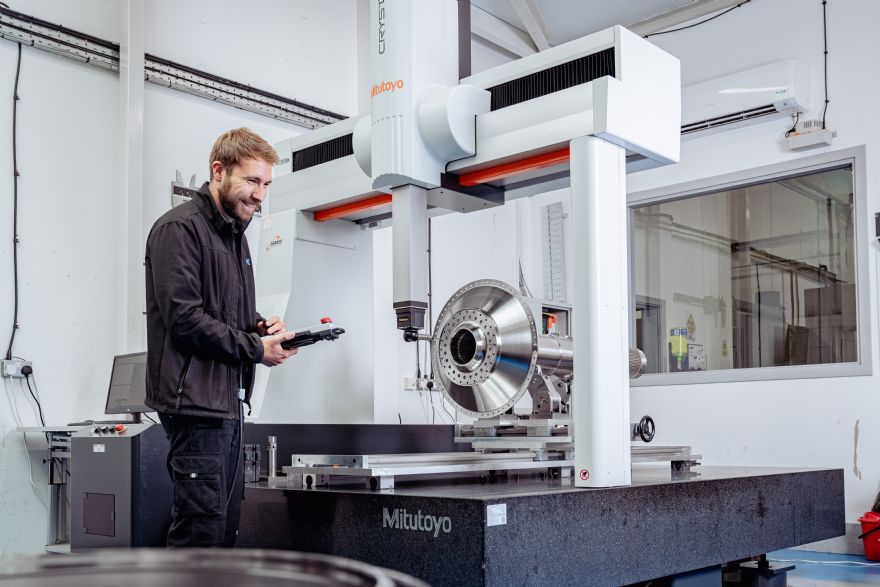
Although premium quality machine tools can reduce manufacturing times, in many instances components cannot be dispatched and invoiced until they have also been inspected, which is why ‘farsighted businesses’ are increasingly using ‘rapid acting’ coordinate measuring machines (CMMs) to not only considerably reduce inspection times but also improve quality standards. Furthermore, the speed of the latest generation of CMMs allows fast feedback to production staff related to component features that are drifting towards being out of tolerance, allowing prompt intervention to be made.
One such manufacturer that considered not only speed and precision but also the standard of the after-sales service offered when making a recent CMM purchase, was
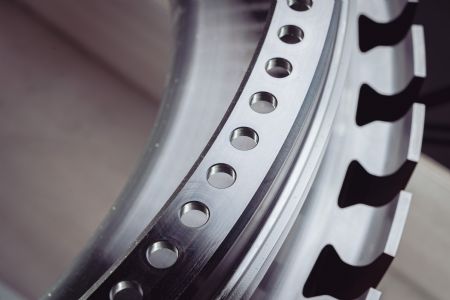
Advanced Manufacturing (Sheffield) Ltd (AML) — a company recognised as a market leader in the delivery of flexible manufacturing capability using advanced machining technologies. Parts made by AML include highly complex gas turbine components, such as blades, shafts, discs, blisks and bearings; and given the nature of the industries it serves, AML’s customers require it to work within the most stringent of quality procedures and to extremely tight drawing tolerances.

In accordance with AML’s policy of regularly investing in its inspection and quality control equipment, the company recently purchased a second Crysta-Apex V122010 CMM from Andover-based
Mitutoyo (UK) Ltd.
Mark Hands, AML’s operations director, said: “AML is an advanced-manufacturing supplier specialising in the development of manufacturing solutions and production services for a variety of prestigious blue chip clients in sectors that include aerospace, defence, nuclear, and energy — hence our use of the most up to date equipment to manufacture and inspect our precision-machined parts.
“As a long-standing Mitutoyo customer we are aware of the quality of the company’s products and the excellent levels of support it provides; and having been impressed with our first Crysta-Apex V122010 CMM, we were happy to place an order for a second machine. The Mitutoyo CMM met our requirements of speed of use and accuracy; and as Mitutoyo is our trusted inspection partner, we had the upmost confidence that we would continue to receive excellent levels of after-sales support from the business.”
Machine detailsMitutoyo’s recently launched Crysta-Apex V1200, 1600 and 2000 series CMMs offer users up to 12.8m
3 of measuring volume and can accept touch trigger probes, scanning probes, optical probes, and laser scanner probes. Crysta-Apex CMMs feature a proven, lightweight, bridge-type construction with high rigidity air-bearings on every axis, allowing them to combine high levels of accuracy with high speed and high acceleration rates. ABS linear scales provide a high level of environmental resistance and save time at start-up as, unlike some other CMMs, homing is not necessary. A UC480 controller supports multi-sensor and SMS (smart measuring system) functions.
Moreover, although Crysta-Apex V Series machines are suitable for use within a temperature-controlled environment, their robust construction and features such as a real-time thermal compensation system mean they can also provide high levels of precision when installed close to the point of production, such as within machining cells. Mitutoyo says this ability is in stark contrast to earlier-generation CMMs, for which accuracy could not be guaranteed unless the CMM was installed within a temperature-controlled environment.
The Crysta-Apex V122010 variant, as purchased by AML, provides X, Y and Z-axis axis travels of 1,200 x 2,000 x 1,000mm. This means that, in addition to being able to handle large individual components, users can load batches of smaller parts onto the machine’s bed and perform fully automated mass inspection routines.
Mr Hands concluded: “As previously, the staff of Mitutoyo UK carried out a very efficient CMM installation. In fact, the team not only installed the new CMM but also relocated other inspection machines at the same time. This limited the amount of downtime and disruption within our facility and ensured that our operational performance to our customer base was maintained.”